A Simple Guide to Lath and Plaster Repair
- By : Jack Smith
- Date :
- Tags: certified plasterer


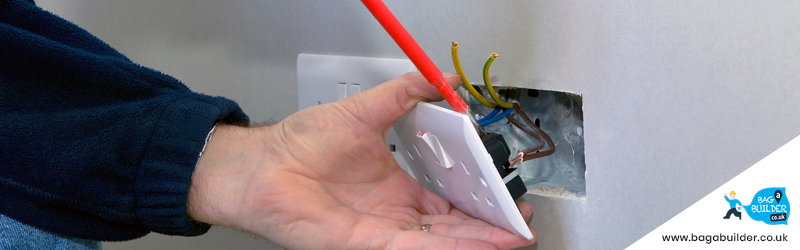
What is ‘lath and plaster’ and what is it used for? Well, to start with, lath and plaster was used for ceilings and interior walls used for partition. It was used to mainly finish the walls and ceilings. You may seek help from professionals. In that case, you have to search with the words – plasterers near me.
If you are not interested in taking help from a professional, you should be confident and knowledgeable enough to start with this process. Know it well and then apply.
Here are few steps that you need to follow.
Step 1: knowledge
First and foremost, know all that you can. Lath and plaster is a process used to give the interior walls a finished look. What is lath? It is the narrow boards, differing in widths, fixed to the timbers of your wall. It provides a surface area to the plaster to bind on to in order to create long-lasting surface.
Plaster, on the other hand, is a careful mixture of gypsum cement materials. Initially, it has putty-like consistency; however, on drying it forms a hard layer. Often several coats are required to build up the desired thickness.
Step 2 : determine the thickness
Lath, on an average, can be 6 mm thick. Since you need many coats to build up a wall, it will account for about 26 – 30 mm of thickness. Thus, after you finish both the sides, the interior wall with being almost 150 mm thick(including the thickness of the wall).
Step 3: get the materials
You need these materials ready for use –
- Plaster to mix
- Knife to remove the old damaged plaster
- Putty knives to apply new plaster
- Sandpaper to allow coat build up and for smoothening purposes.
Step 4: prep up
First of all, mark all the areas that require repair, both lath, and plaster. Next, for those areas with damaged plaster, you need to first remove the layer(s) of plaster carefully so as to not damage the lath. If you need to excise all the layers of plaster, do so. For lath, carefully rove the plaster around the damaged portion, then, fix it. For a long lasting wall, start from within.
Step 5 : application
After removing the dust and other particles from your wall, apply one layer of plaster with the putty knife on the damaged area. The thickness of layer depends on the extent of the damage. It could be a thick base layer or a thin top layer. According to certified plasterers in London, you should always build up layers for a better experience.
Next, leave it to dry. Sand the layer/coat to bring it to perfection. This will ensure a proper surface for the next layer and give it a finished look.
Repeat the above if required. After the thickness has been matched and plaster is dry, you can think about finishing steps to make it blend in with the rest of your wall.
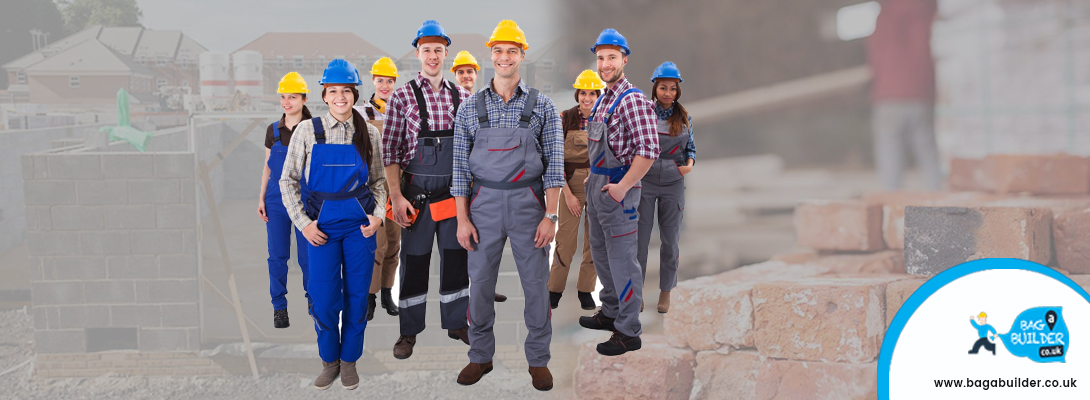
Doing work on your own can be a great way to be active and save money. But for professional output you need to hire certified plasterers.
You Might Also Like to Read:
Steps to Fitting a Plasterboard Ceiling
Take the Help of Certified Plasterers for Plastering and Wall Boarding